

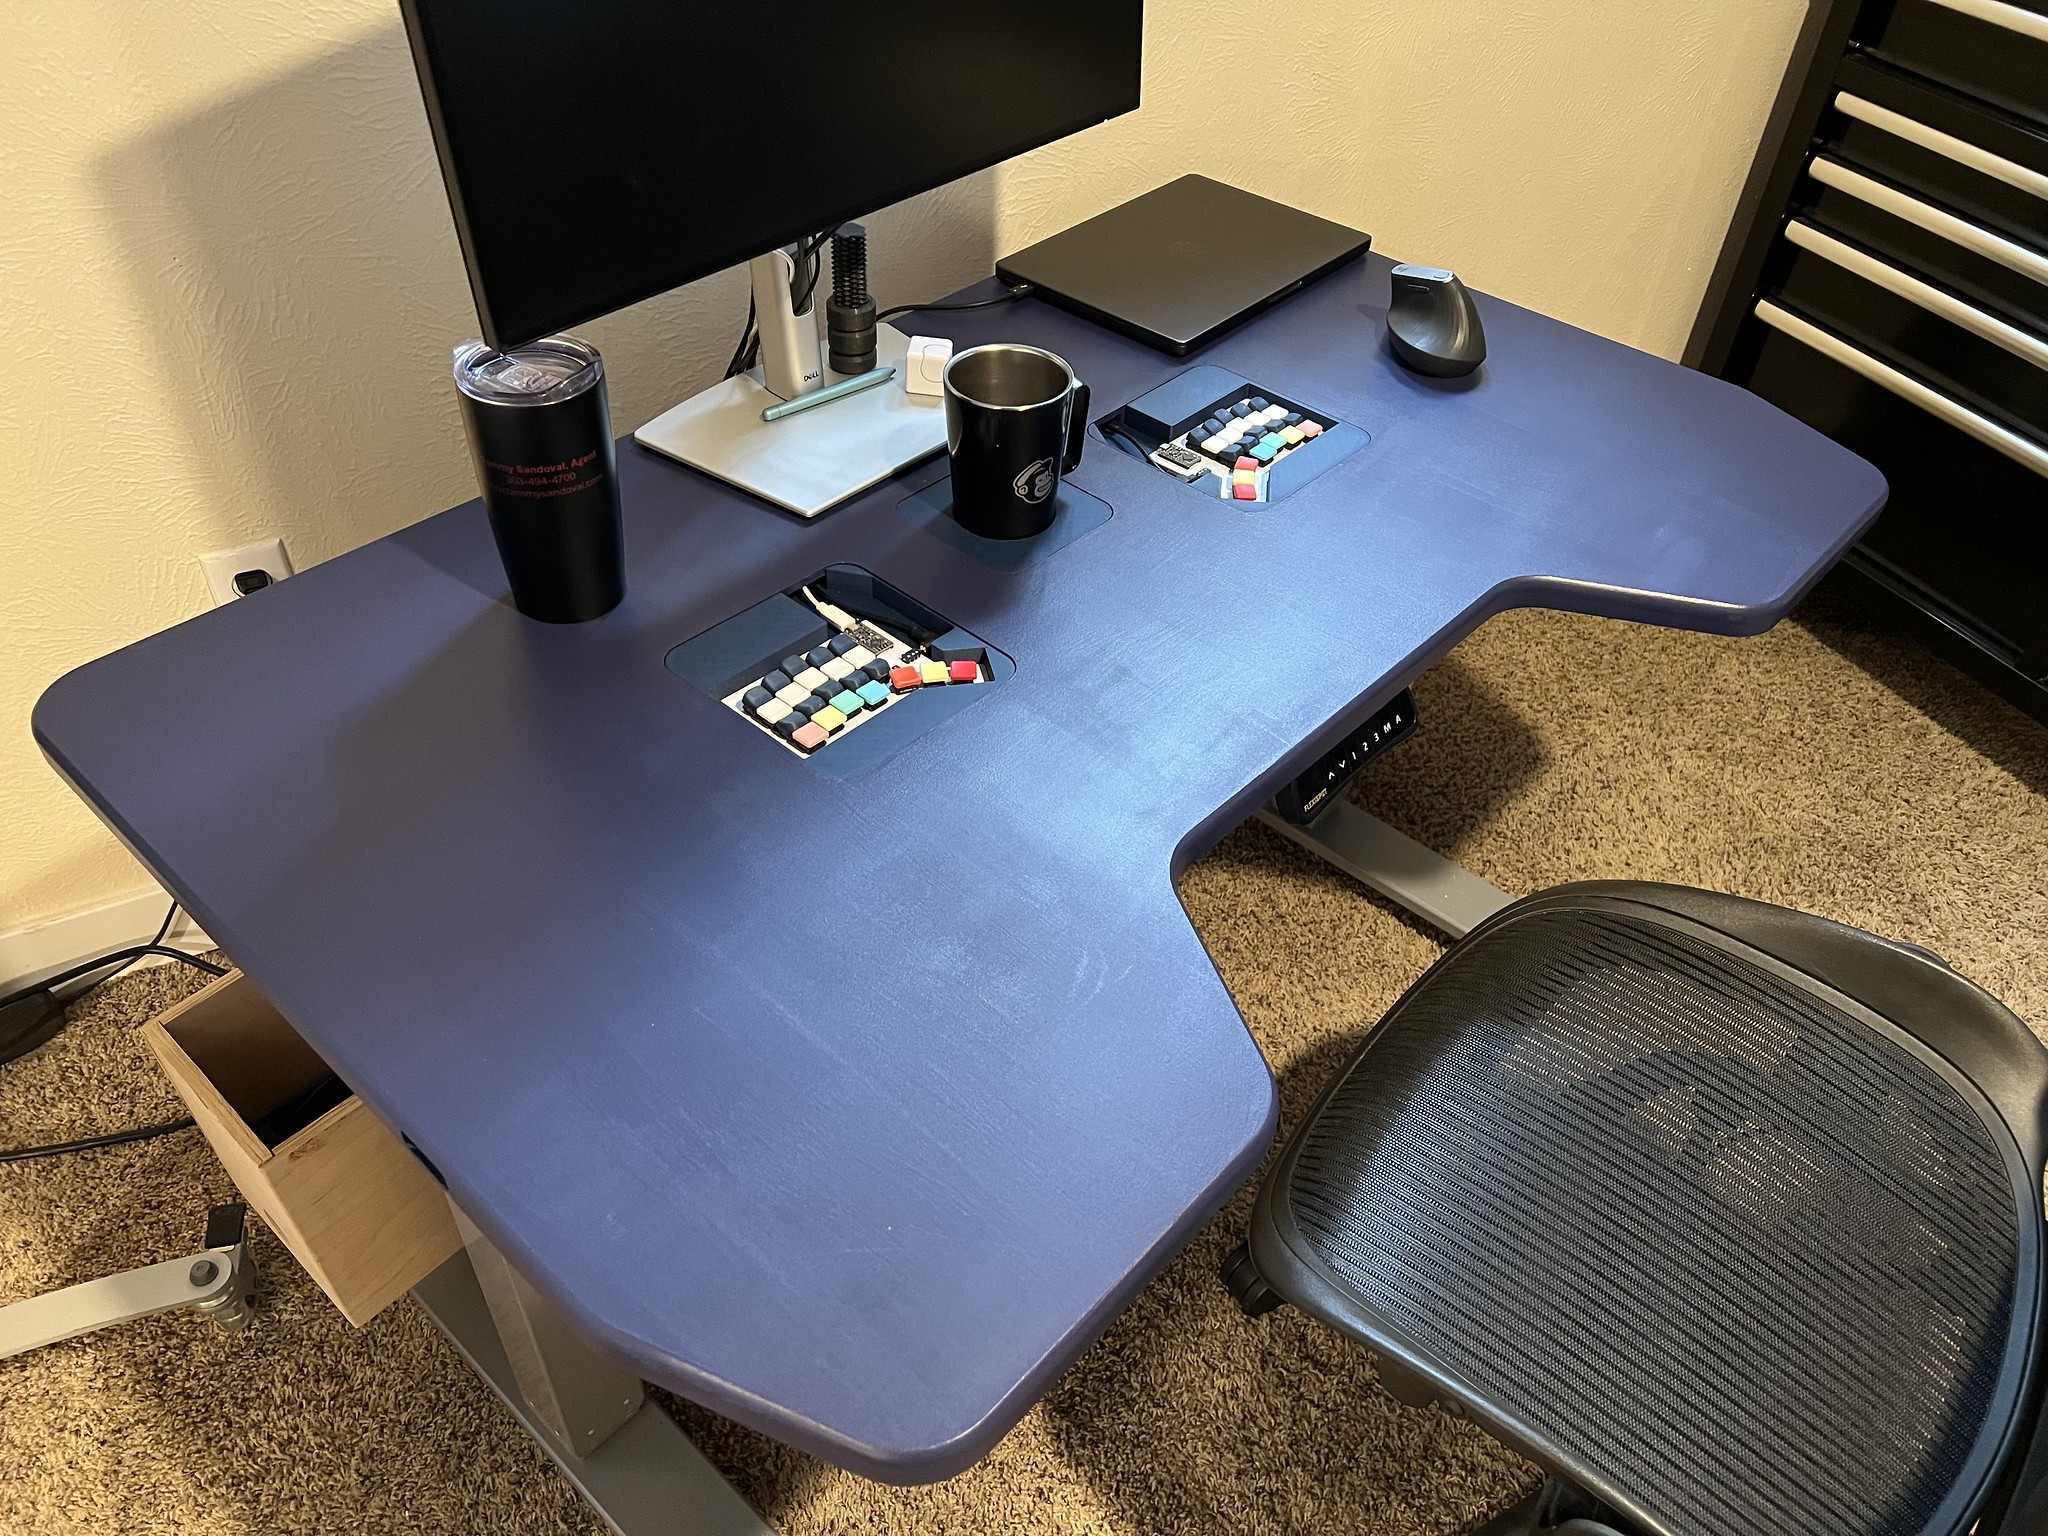
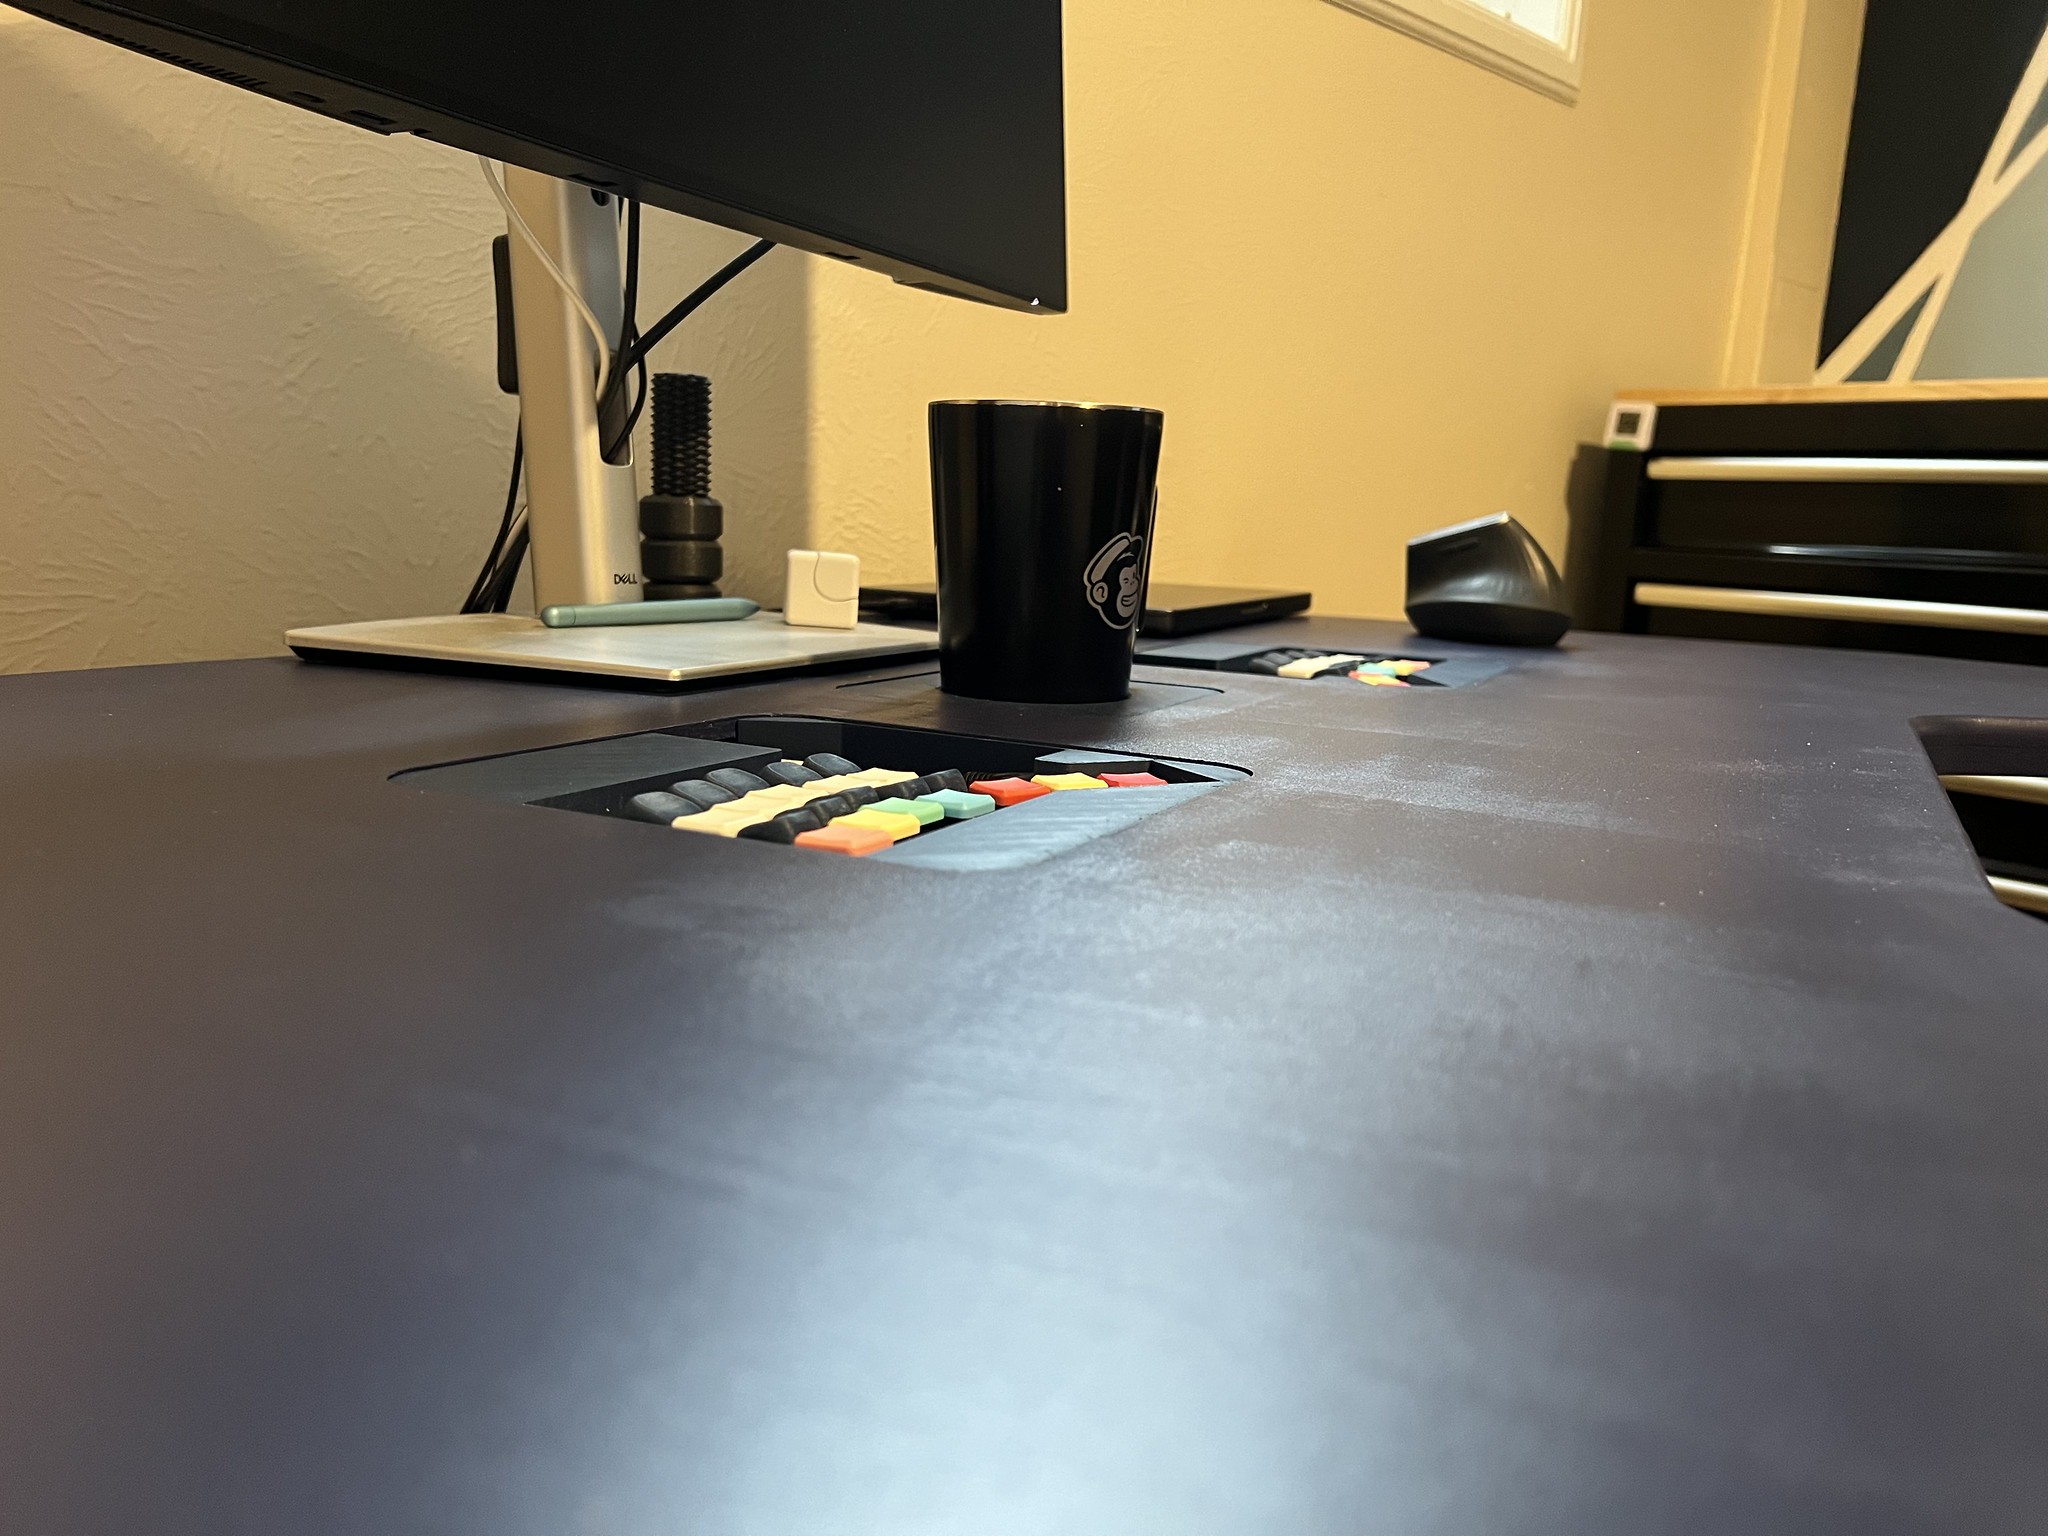
Desktop with embedded keyboard
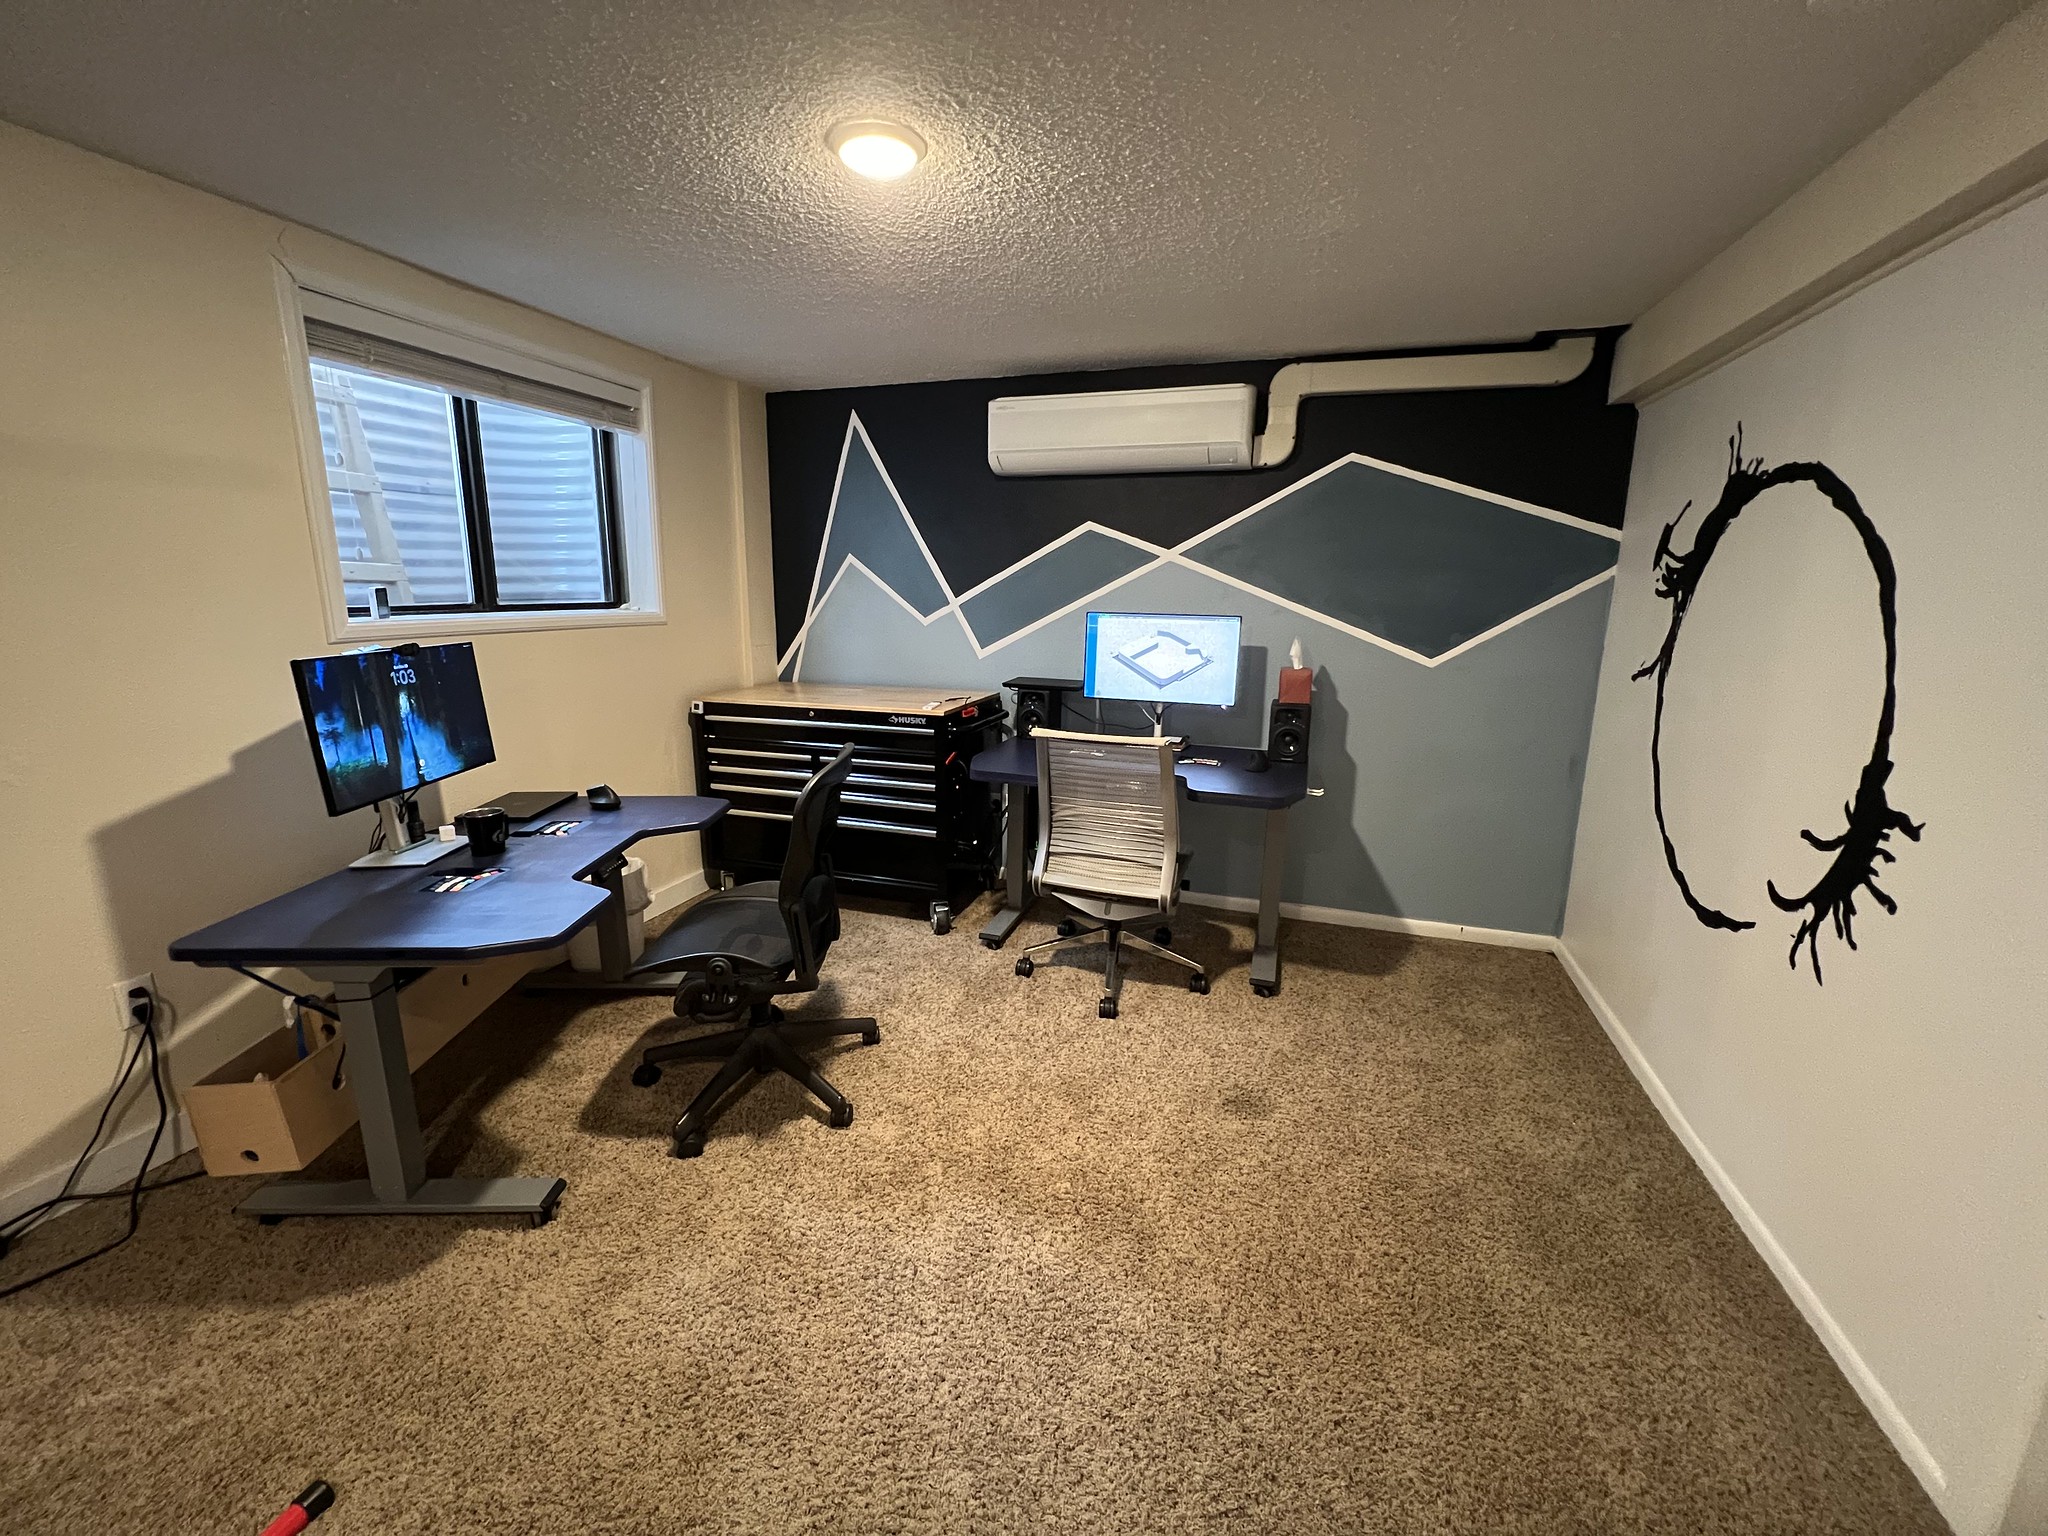
To manage and prevent Repetitive Strain Injury (RSI) from working full time at a computer over several decades, Pete puts a lot of energy into ergonomics. He types on a custom-designed split keyboard tailor fit for his fingers exactly. When he found a desktop setup with third-party clip-on forearm rests that worked well for him, he decided to make a desktop that included the arm rests directly. Adding the arm rests gives the desktop an overall shape sort of like a game console controller. And once he was building a custom desktop, he decided to improve ergonomics for his wrist by recessing the keyboard into the surface of the desktop itself. And while he was at it, since there’s no programming without coffee, he added a coffee mug holder to the center.
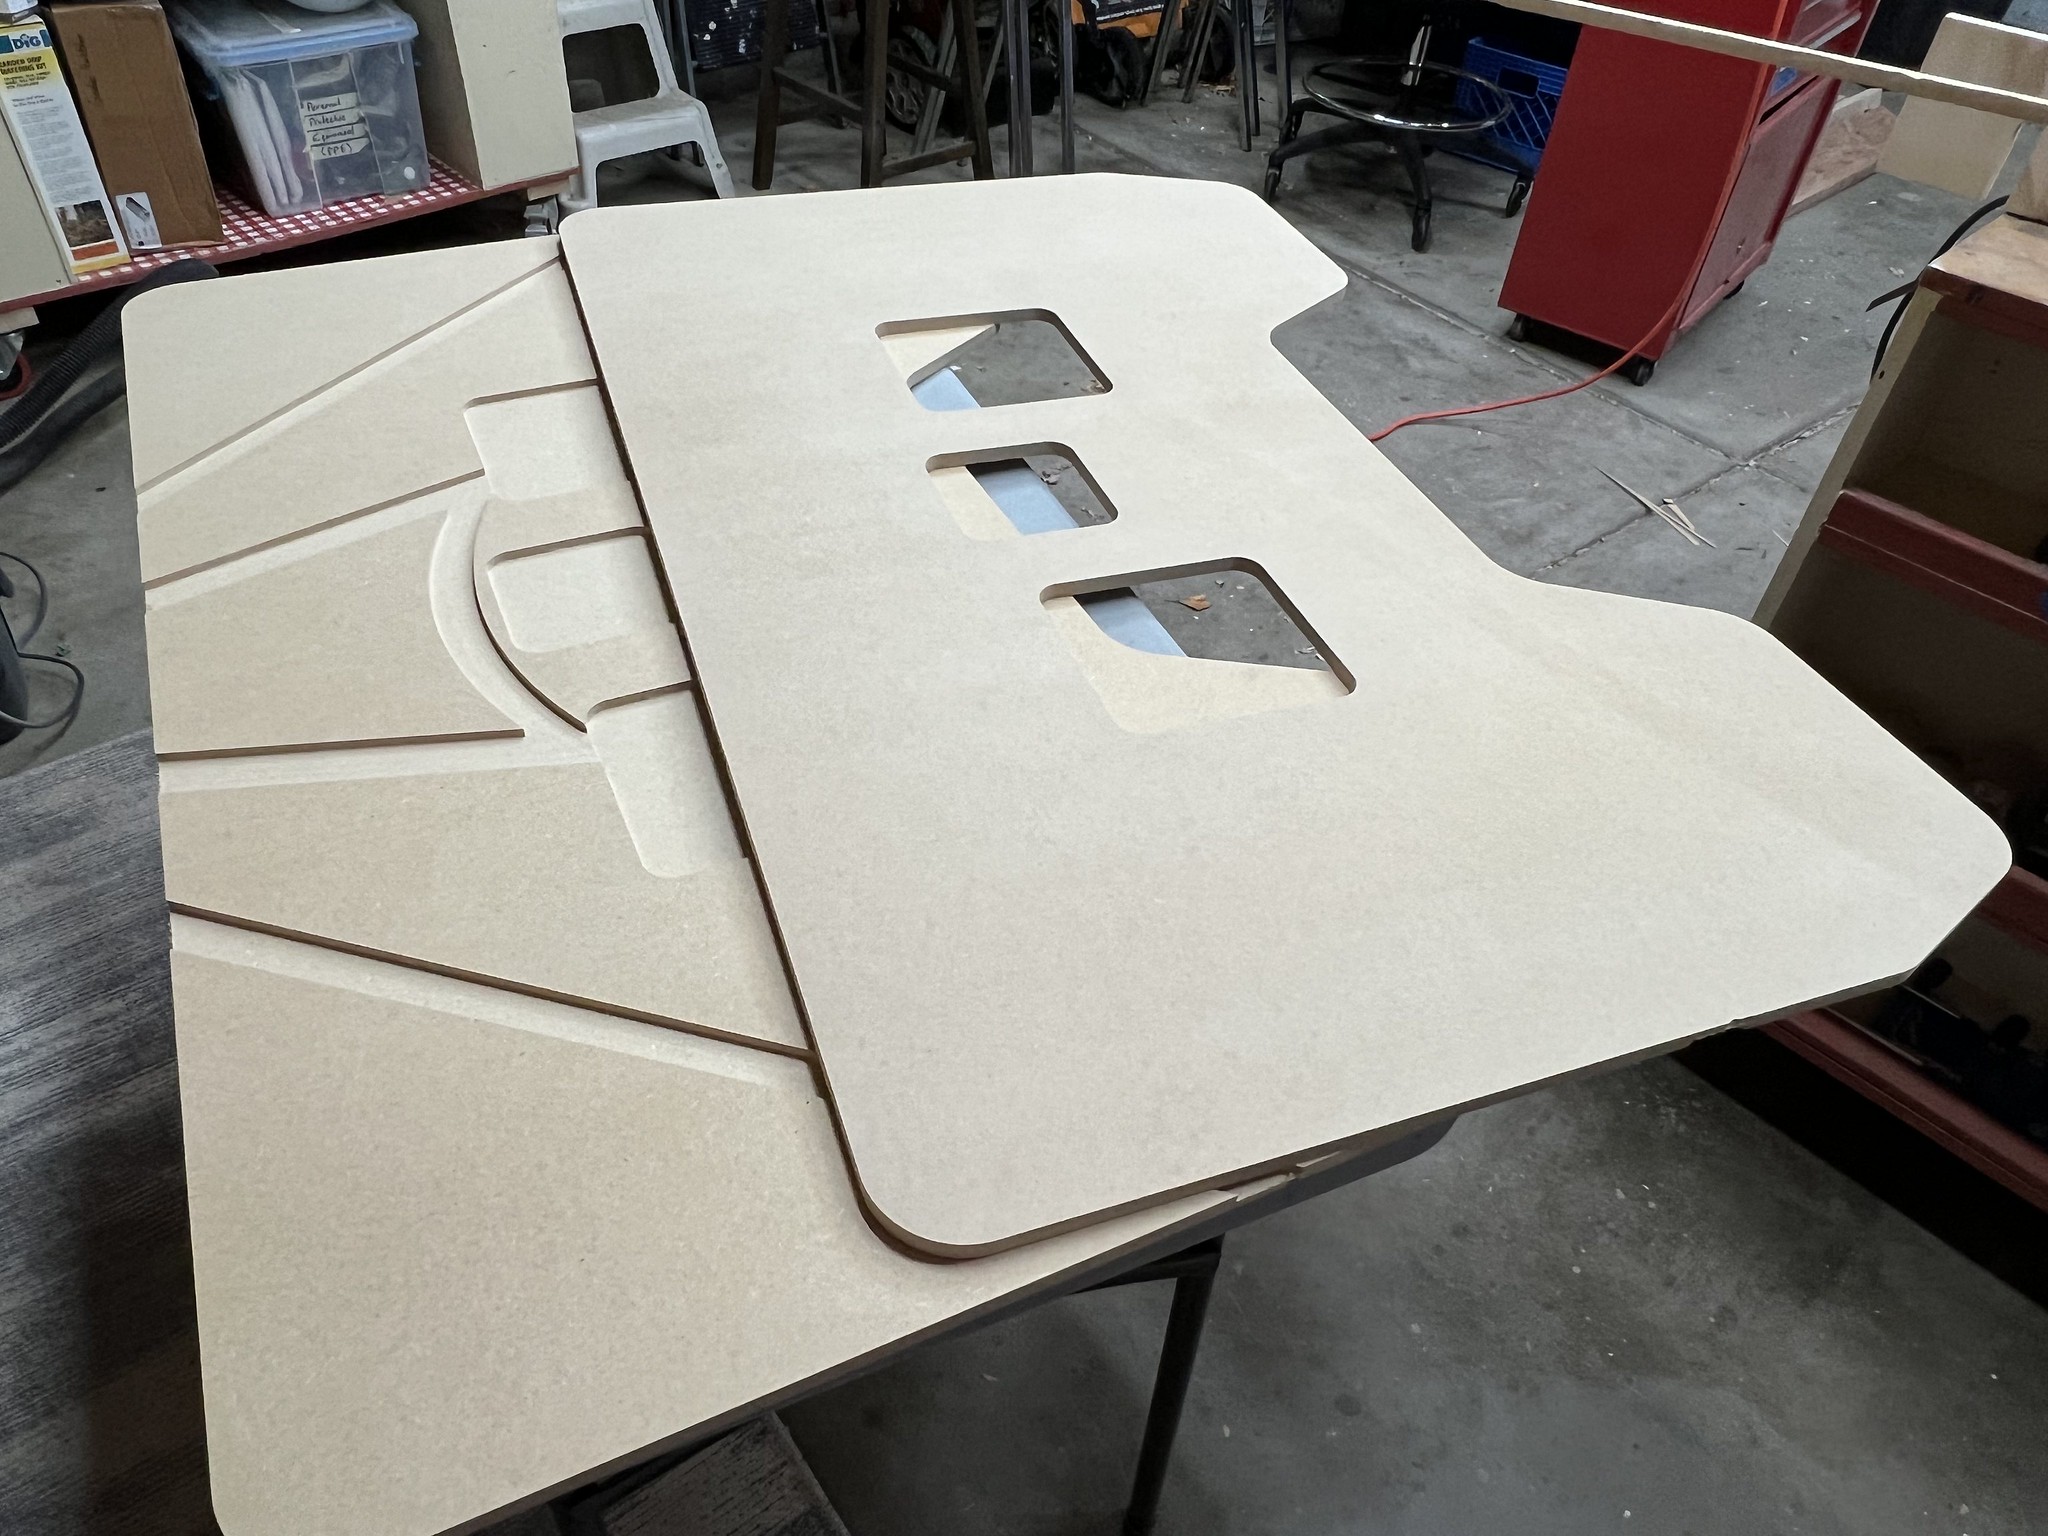
This was Pete’s first project learning and using the ShopBot CNC at Solid State Depot. Overall the project involved several disciplines:
- CAD in FreeCAD
- CAM in Fusion
- Running the ShopBot via LinuxCNC
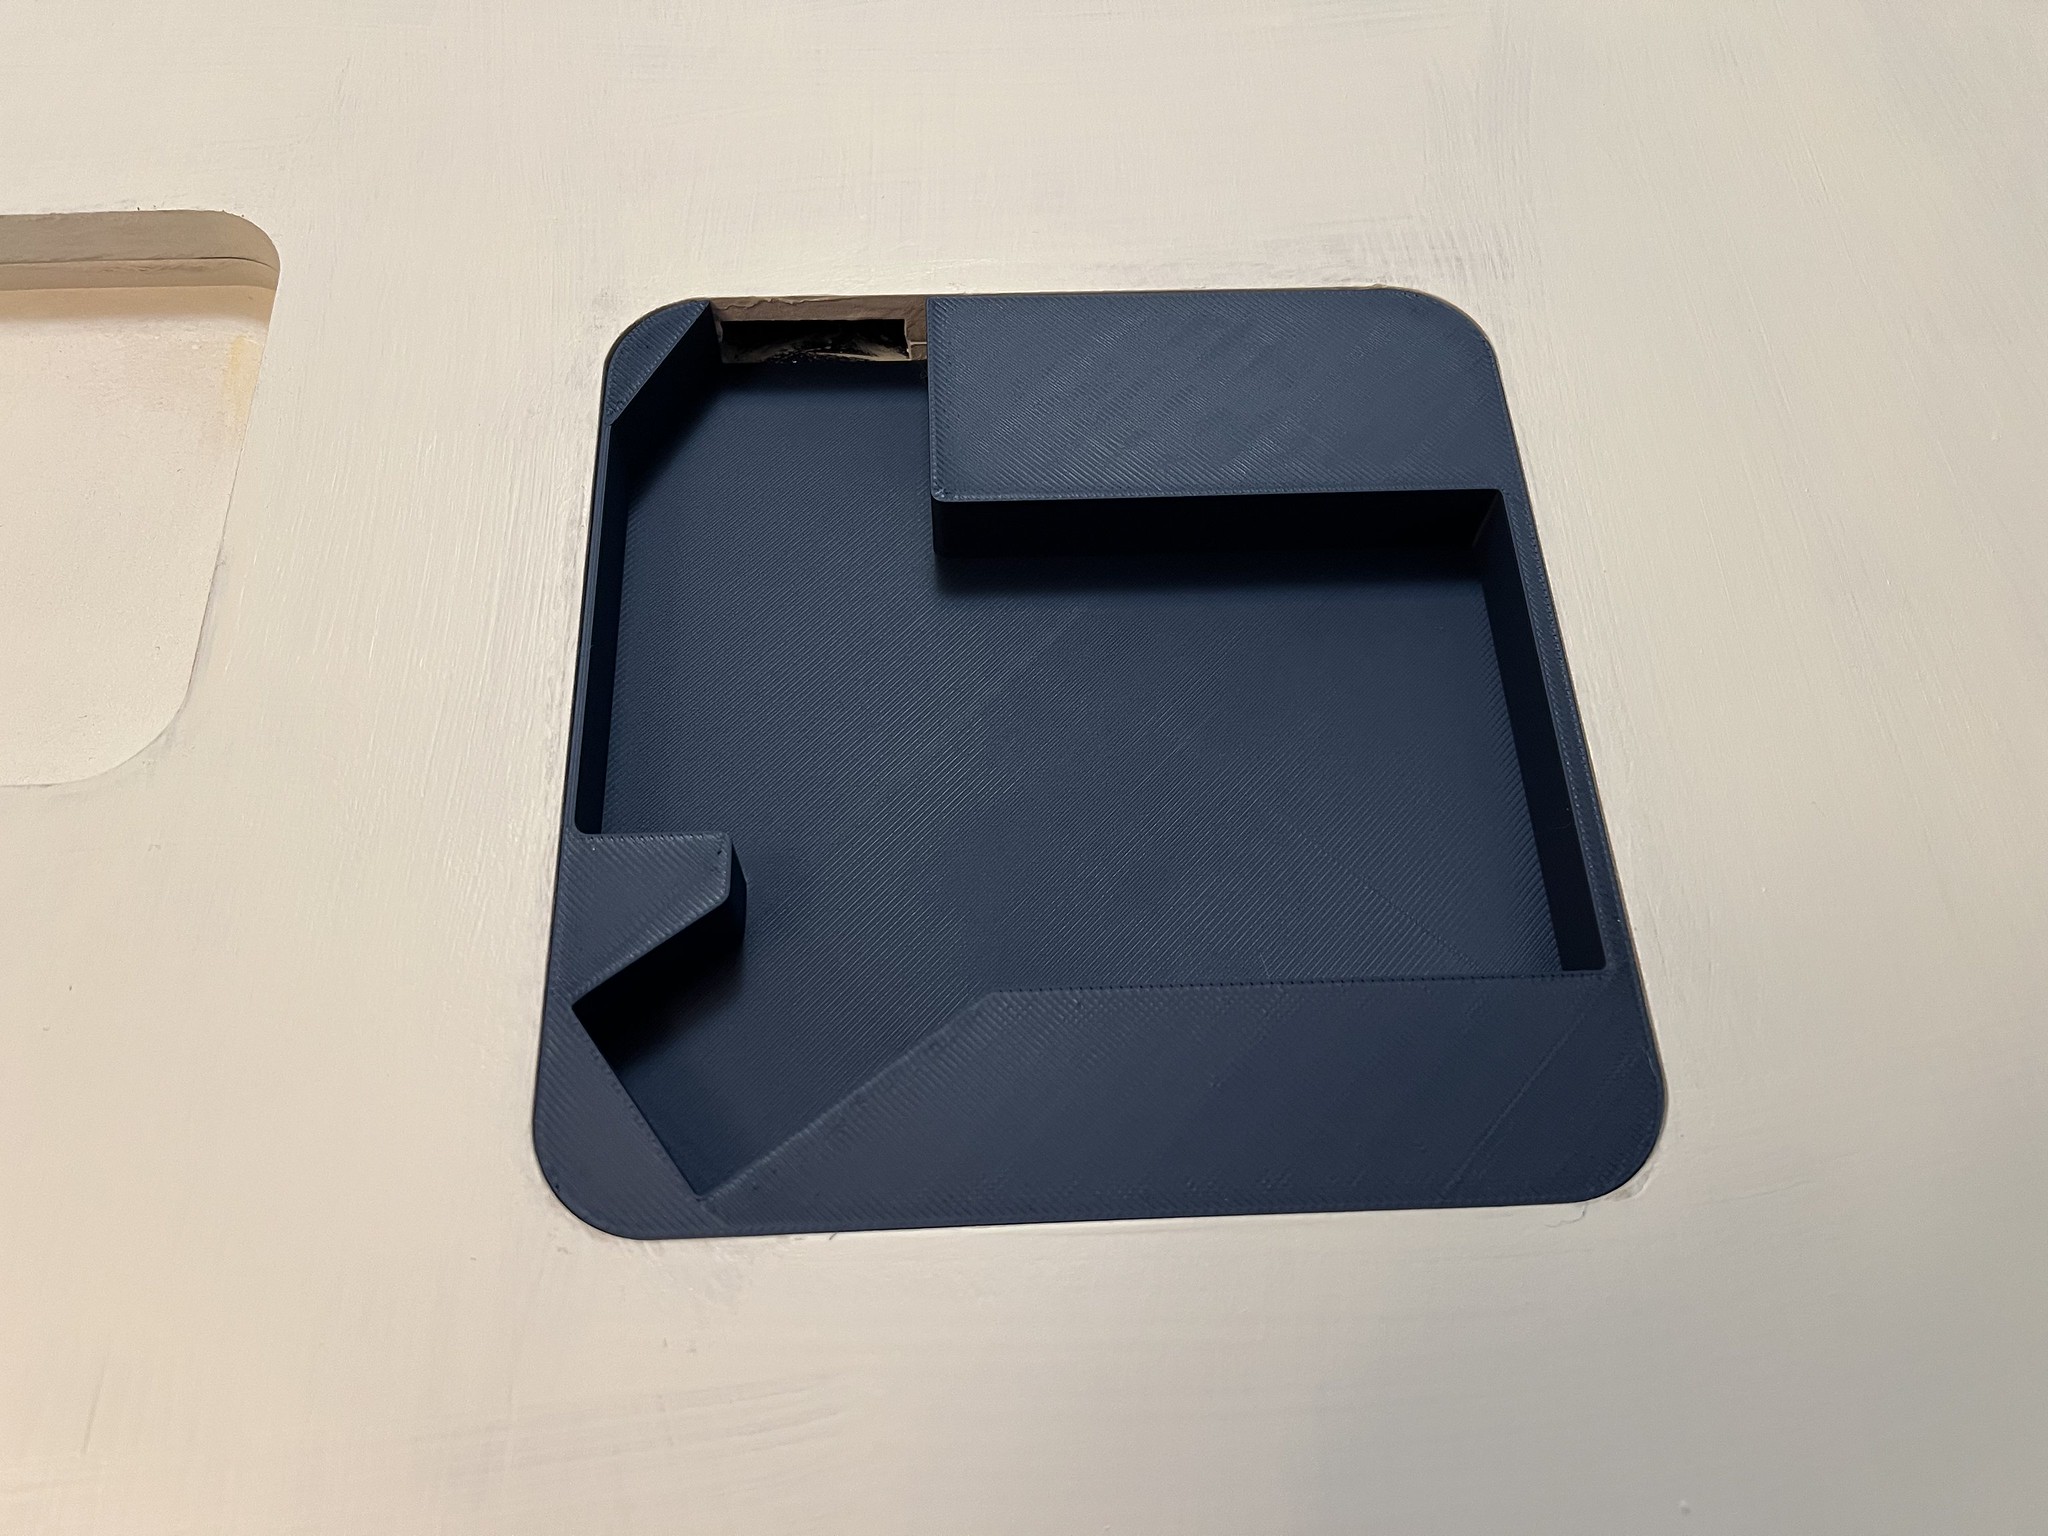
- 3D Printing with Bambu Studio
- Woodworking with saws, router, glue and clamps for post-CNC processing
- Sanding, priming and painting

Overall the project features
- built-in forearm rests tailor fit to Pete
- inserts for a split keyboard
- inserts for a coffee mug in the center
- interior channels for routing cables inside the desk keeping everything tidy and slick
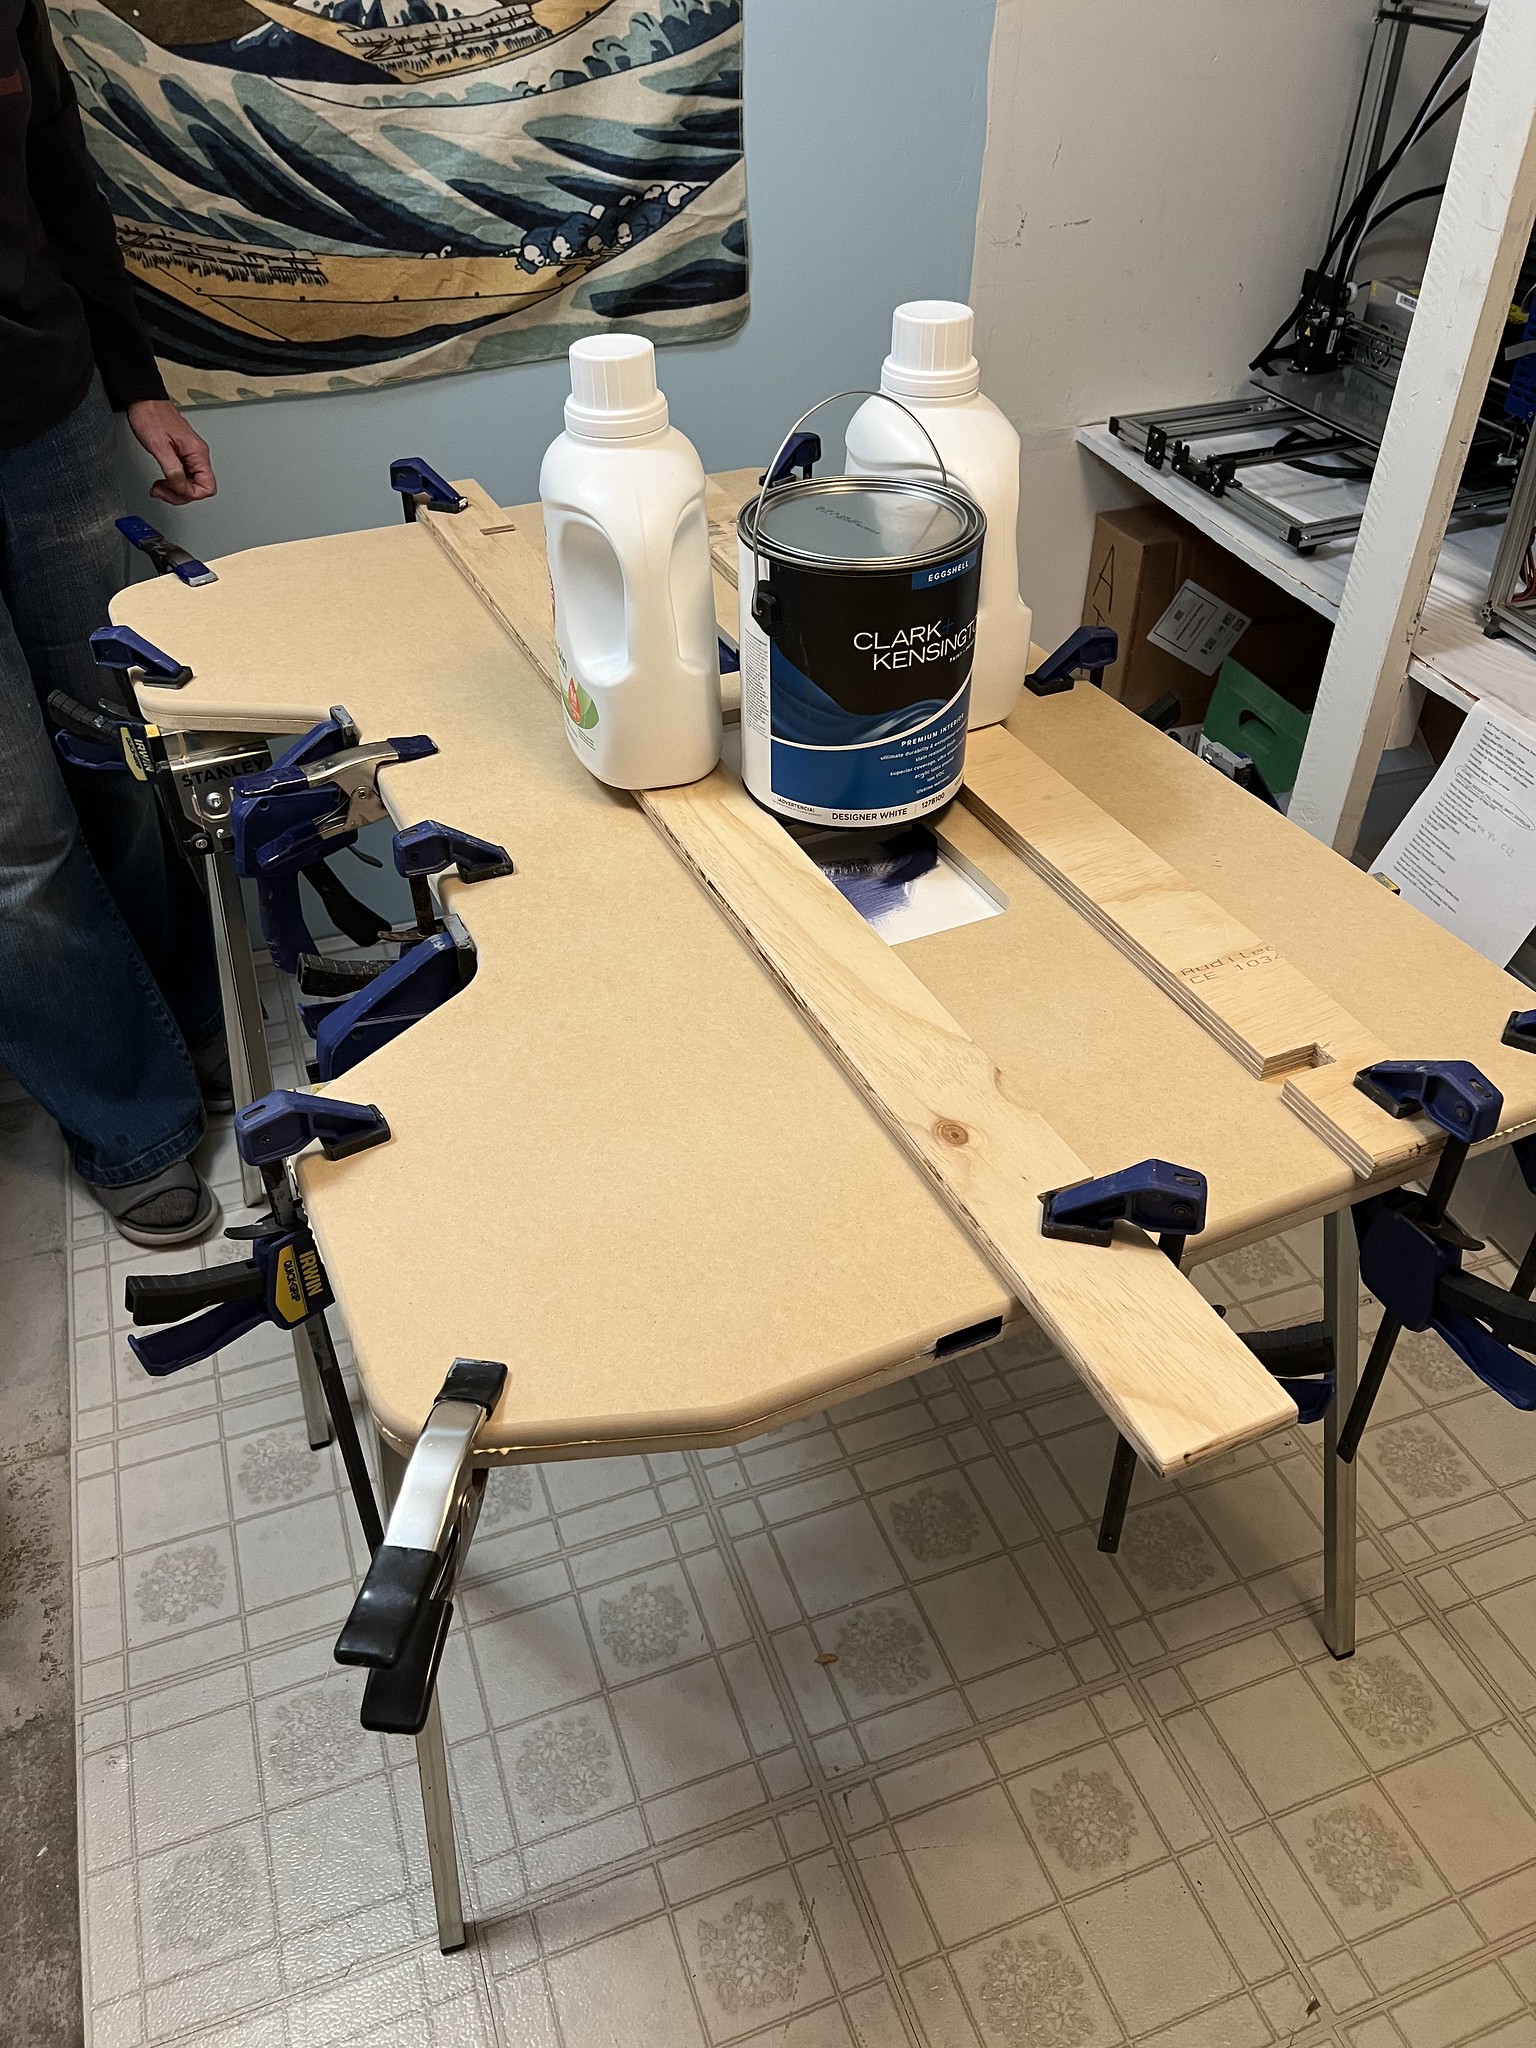
As his CNC skillset grew, Pete ended up making 2 versions of the desktop. The first was assembled from 3 pieces of 1/2″ MDF done entirely with contour cuts through the entire material. The second one is 2 pieces with the cable channels made by clearing pockets partially through both the top and bottom pieces.
There’s a little more detail on the process itself over on Pete’s blog.